সবচেয়ে সহজে javafx ইক্লিপ্স ide তে অ্যাড করার পদ্ধতিঃ প্রথমে একটা নতুন জাভা প্রজেক্ট তৈরী করতে হবে। যে প্রজেক্টে কাজ করছি সেই প্রজেক্ট এ রাইট ক্লিক করে propities ->java build path ->jre system libreary আগে যদি কোনো jre system libreary থাকে তাহলে তা রিমুভ করে add library ক্লিক করে jre system libreary সিলেক্ট করে workspace default Jre (jre ১.৮০) তে javase ১.৮ সিলেক্ট করে ফিনিশ করতে হবে। এবার classpath এ ক্লিক করে Add Library ->User Library (আগে হতে যদি না থাকে তাহলে ) নতুন একটি লাইব্রেরি তৈরী করতে হবে JavaFx নামে এবং তাতে External Jar ফাইল হিসাবে জাভা Jre->libs ফোল্ডার হতে Jfxswt.jar ফাইল সিলেক্ট করে দেখিয়ে দিয়ে ওকে করে বেরিয়ে আস্তে হবে। এবার নতুন একটা জাভা ক্লাস তৈরী করে তাকে application ক্লাস কে এক্সটেনডস করে javafx এপ্লিকেশন ডেভেলপমেন্ট করতে হবে।
মনে রাখতে হবে এক্লিপ্স এ javafx ইনস্টল হয়েছে কিনা চেক করার জন্য কোনো নতুন প্রজেক্ট তৈরী করার অপশনে javafx প্রজেক্ট নামে অপশন থাকবে সেখান থেকে javafx Project সিলেক্ট করে প্রজেক্ট তৈরী করার সময় java runtime envirnment javase ১.৮ সিলেক্ট করে প্রজেক্ট তৈরী করতে হবে। যদি প্রজেক্ট অন্য java runtime envirnment javase ভার্সন এ তৈরী হয়ে থাকে তাহলে যে প্রজেক্টে কাজ করছি সেই প্রজেক্ট এ রাইট ক্লিক করে propities ->java build path ->jre system libreary তে javase ১.৮ সিলেক্ট করে ওকে করলেই হবে.
javafx ইনস্টল করার পর যেকোনো একটা জাভা প্রজেক্ট java runtime envirnment javase ১.৮ সিলেক্ট করে প্রজেক্ট তৈরী করে জাভা ক্লাস কে Application Class দ্বারা এক্সটেনডস করে start মেথড ইমপ্লিমেন্ট করে javafx এপ্লিকেশন ডেভেলপমেন্ট করতে হয়.
To generate getters and setters, do the following:
Create the fields you want in the class then press Alt+Shift+S, R. A dialog will pop up allowing you to choose the fields you want to generate getters and setters for.
Click Select All to create getters/setters for all fields. Of course you can choose individual fields as required.
Change Insertion point to Last Member. This tells Eclipse that you want to put the methods at the bottom of the class. This is normally the best option for me as I want them out of the way.
Click Ok. Eclipse will create the getters and setters for you.
Here’s an example of what the dialog should look like.
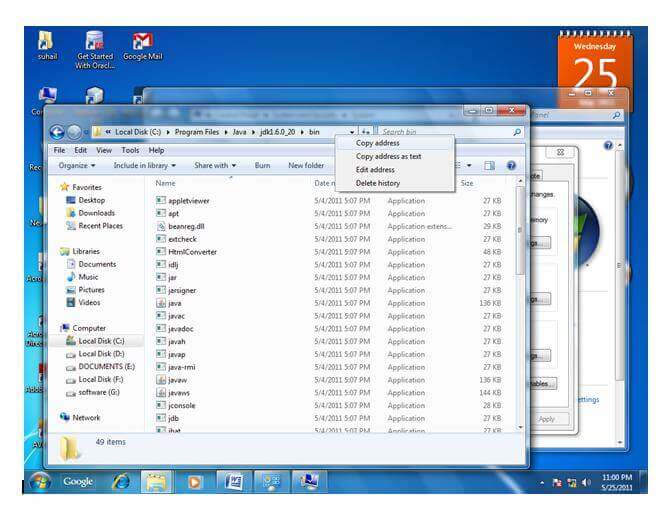
Path Set For Java And Javac (Java Compiler ). If You Save Java Source File In Jdk/Bin Directory Then No Need Path Setup But If You Save Another Directory Then You Need To Path VAriable Set In This Way For Permanent Path .
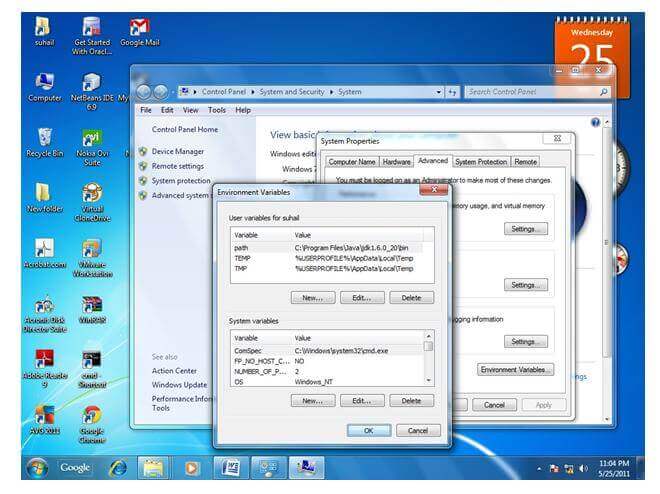
MyComputer properties -> advanced tab -> environment variables -> new tab of user variable -> write path in variable name -> write path of bin folder in variable value -> ok -> ok -> ok
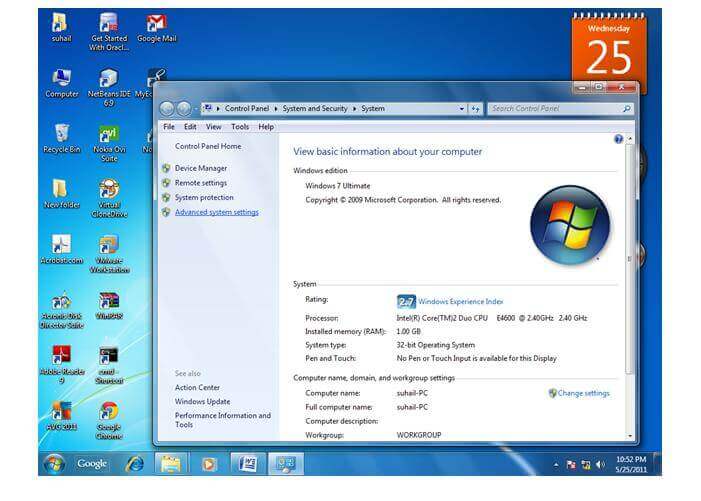
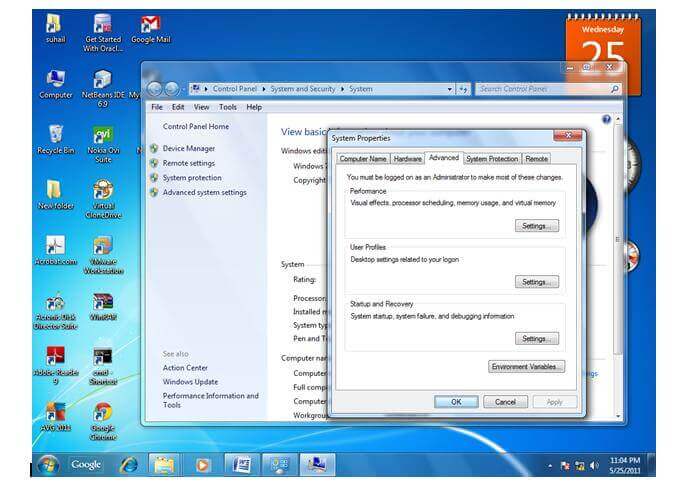
1) Go to MyComputer properties
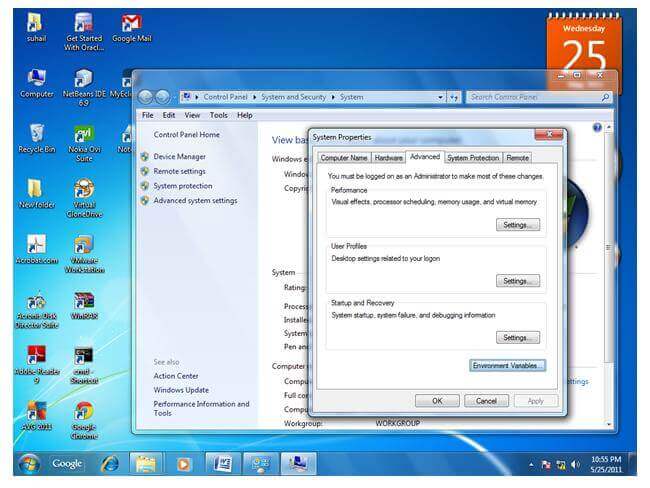
2) Click on the advanced tab
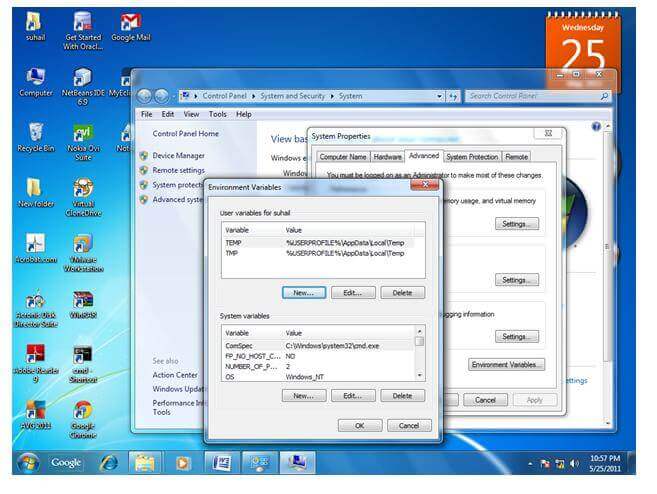
3) Click on environment variables
4) Click on the new tab of user variables
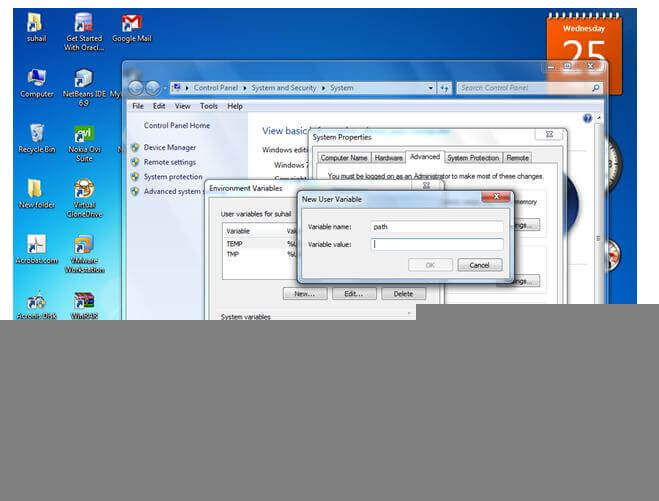
5) Write the path in the variable name
6) Copy the path of bin folder
8) Click on ok button
9) Click on ok button
Now your permanent path is set. You can now execute any program of java from any drive.
1 Open Eclipse With Your Eclipse WorkSpace
2. File -> New -> Java Project ->Project Name (Example Name As Student )And Next And Finish
3. Create Java Class And Fill Source Folder Student/src. Package Name Your Choice Example student.name.And Class Name example Student.ok
4 Implement Main Method And Main Function For Output.