To create a new Firebase project, follow the below mentioned steps :-
1. Open the URL – https://console.firebase.google.com
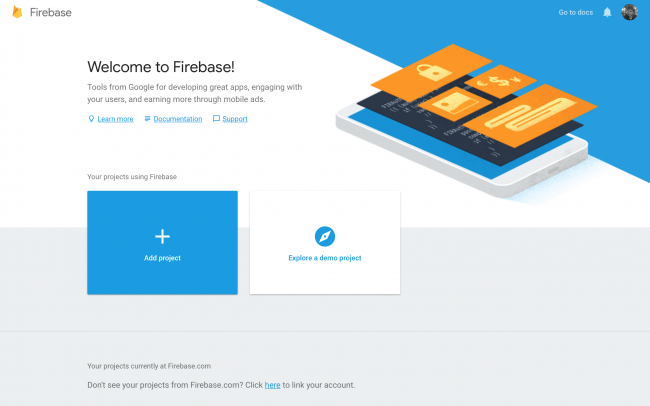
2. Then click on “Add Project”.
3. Enter the Firebase Project name and accept the conditions and then proceed with clicking on “Continue” button.
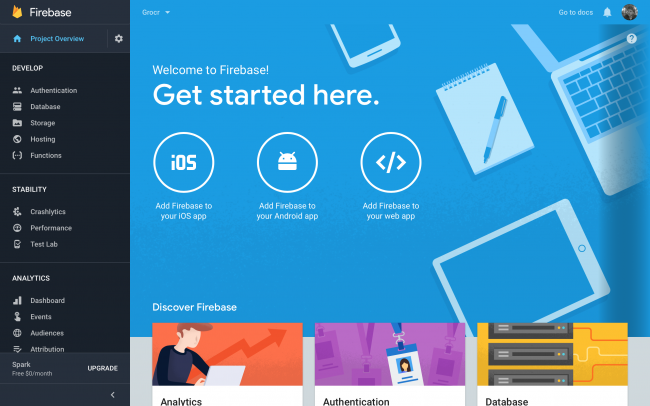
4. On the next Welcome screen, click on “Add Firebase to your Android app“. Enter the package name and click on Next.
5 . Firebase App, Register your app id and download the google-services.json file. Add it to your app folder
Specify Maven repository URL
- Add Google services classpath as below
- Add maven repository url
/ Top-level build file where you can add configuration options common to all sub-projects/modules.

buildscript {
    repositories {
        jcenter()
    }
    dependencies {
            classpath 'com.android.tools.build:gradle:3.2.1'
          classpath 'com.google.gms:google-services:4.2.0'


        // NOTE: Do not place your application dependencies here; they belong
        // in the individual module build.gradle files
    }
}

allprojects {
    repositories {
        jcenter()
        maven {
            url "https://maven.google.com" // Google's Maven repository
        }
    }
}

task clean(type: Delete) {
    delete rootProject.buildDir
}
Add Firebase Dependencies
Add them in you app level(app folder) build.gradle, then Add app lavel Dependency
    implementation 'com.google.firebase:firebase-core:16.0.9'
    implementation 'com.google.firebase:firebase-firestore:19.0.0'
    implementation 'com.google.firebase:firebase-database:17.0.0'
    implementation  'com.google.firebase:firebase-auth:17.0.0'
Add Bottom Of File App Level Dependency
apply plugin: 'com.google.gms.google-services'
Now Sync And Install and unstall App
Latest Firebase Release Note Url

3 thoughts on “Android Connect With Firebase”